
Over the past couple of weeks I have managed to fix the known issues with the DIY keyboard, order new PCBs, receive them, assemble one, including moving all the components from the original DIY keyboard that I made. So let's see what I got up to, and how it turned out.
First up, the new boards arrived :) I ordered these from PCBWay as usual, and they were of the expected quality and finish:

One of the main differences between this and the original revision of the PCB, is the inclusion of the mounting holes for the key stabilisers. I wasn't 100% sure of the hole sizes and spacing of these, so I wanted to check this first. There are only two stabilised keys on the MEGA65 keyboard: RETURN and the huge 170mm long space bar:
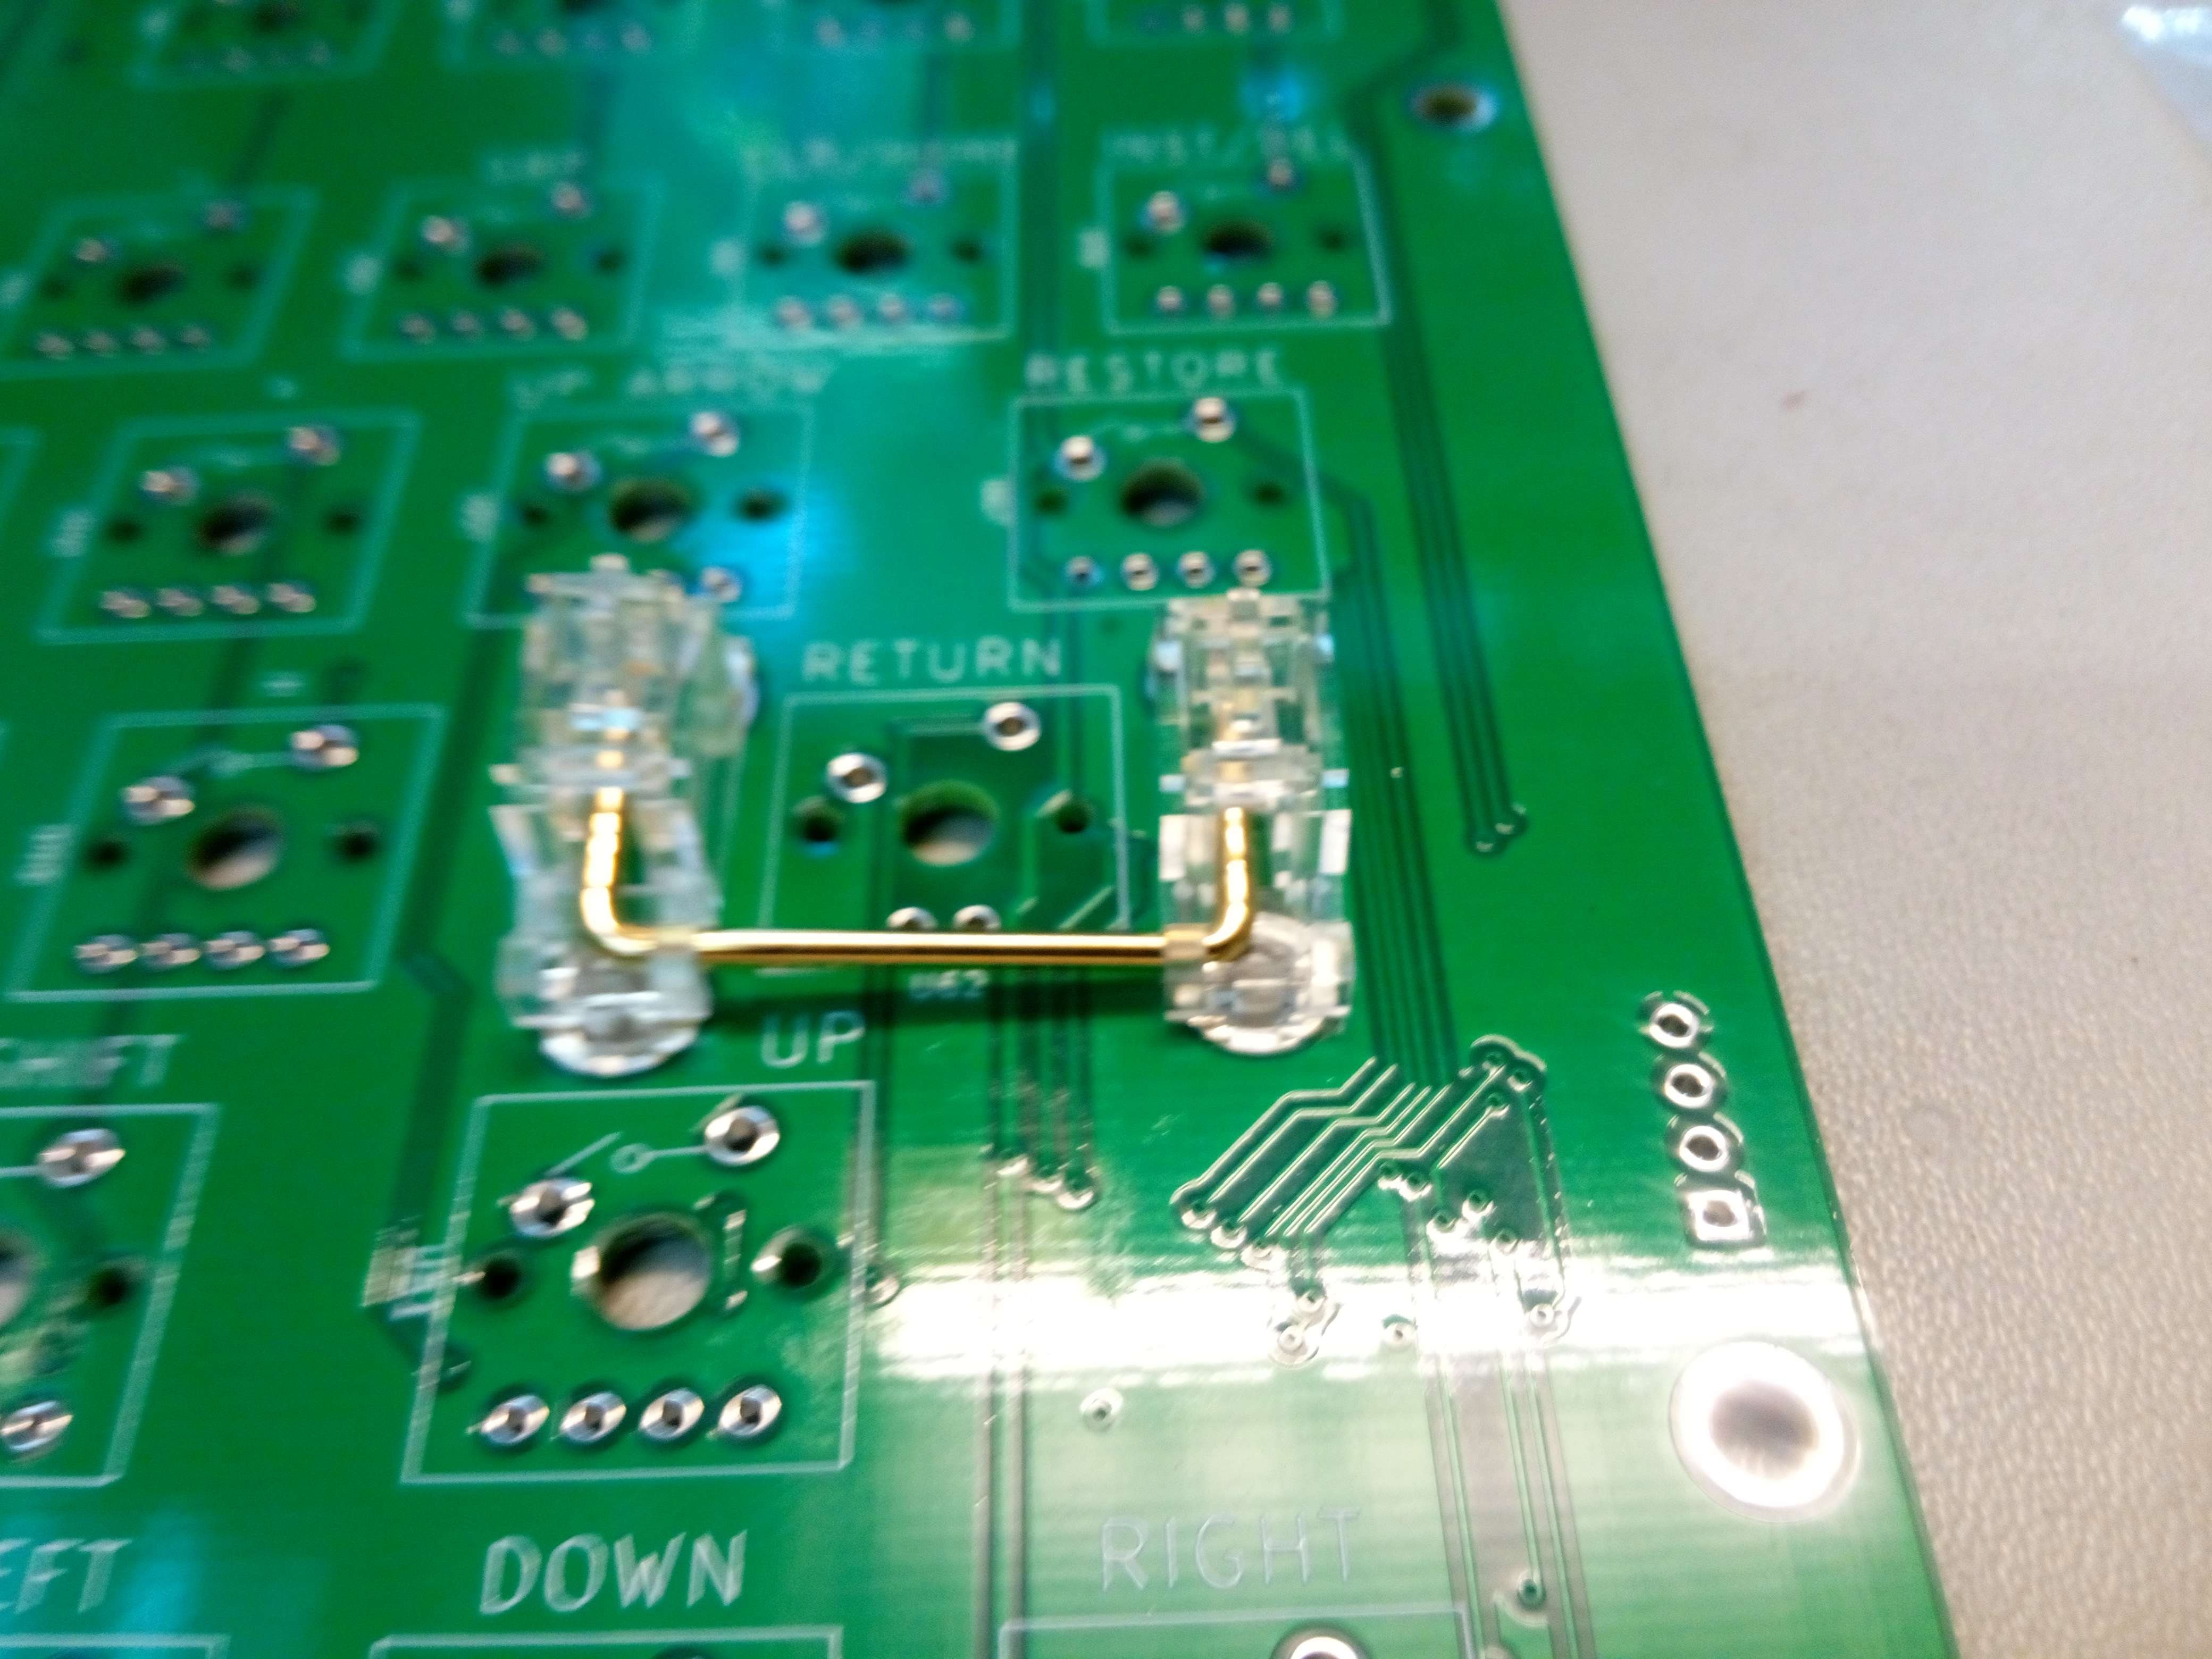
So the RETURN key stabiliser was fine, which was a good sign. Then onto the space bar. This one is a bit trickier, as I wanted to allow for both DIY keyboards using easily available key caps, which means a 6.25x space bar, as well as using official MEGA65 key caps, which includes the lovely 9.0x 170mm wide space bar. The stabiliser kit I bought only had wires for 6.25x, not 9.0x space bars, which is not unexpected. Not a problem: We will try first with the 6.25x space bar I pulled off a random mechanical keyboard that was laying around:

That looks fine, too. Now to put the key caps on both the space bar and RETURN key to check that everything really fits and moves smoothly:


Both worked just fine, and had a really nice solid feel to them. Now it was time to look at the MEGA65 9.0x space bar. Without the stabiliser wire, I could only test the alignment of the stabilisers, which is not a problem, as its then just a case of folks cutting the right length wire and bending it up into shape. Thus the main thing to test was the spacing of the stabiliser holes, which as we can see here, are just fine:


Then I installed it in the top case, and screwed it in. You really can't tell that its not the original keyboard now, which is exactly the goal!

I also made sure that all the keys pressed and released without snagging on the case (which is a problem that the original C65s had), and all was well there.
I was using only 5mm spacers instead of 6mm spacers, which made this test more rigorous than real life. In the process of all this, I did notice that the keyboard is not exactly centred in the cut-outs, as can be seen in the following two photos: Basically the keyboard should move about 0.5mm left, and maybe 0.25mm up, to get it perfectly centred:


That is really the only issue I identified with the physicality of this revision.
Now, so far we had only the keys installed, not the other components to make it work. There were only a few minor schematic changes, but safe is safe, so I set about installing the those. I only had the components I had installed on the original revision of the DIY keyboard, so I used my hot air rework station to pull those off, leaving a rather sad looking board, and not just because the focal performance of my phone camera is about as reliable as the weather:


Then it was time to test. This revealed those dry-joints I mentioned, and also that I completely missed soldering one of the key switch pins. That got all keys responding. The two keys I had changed the connections of from the previous revision turned out to be swapped around, so I did a quick fix to t he VHDL to solve that, and then it was all working. Yay!
Now all that's really left is to generally clean up the PCB routing, so that the traces look nicer, and fix those slight positioning problems of the keyboard. It's already close enough that anyone with a Nexys 4 / Artix 7 board who wants to build a real MEGA65 keyboard to use with their FPGA board could safely do so.
At this point, I'm handing those tasks over to the community, so that I can focus on finishing bringing up the MEGA65 Expansion Board, with its composite video, user, tape and C1565 ports.
thanks!!! :-)
ReplyDelete